
Table of contents
- Before You Start
- Step 1: Download ProtonVPN for Windows
- Step 2: Install ProtonVPN on Windows
- Step 3: Sign In to Your Proton Account
- If You Do Not Have an Account Yet
- Sign-In Tips
- Step 4: Choose a VPN Server
- Which Server Should You Pick?
- Step 5: Enable Kill Switch
- Step 6: Review Other Useful Settings
- VPN Protocol
- Auto-Connect
- NetShield or Malware Blocking
- How to Check That ProtonVPN Is Working
- Basic Troubleshooting for ProtonVPN on Windows
- Problem: ProtonVPN Will Not Sign In
- Problem: VPN Connects but Internet Stops Working
- Problem: Speeds Are Slow
- Problem: Windows Security or Antivirus Blocks the VPN
- Problem: The App Is Installed but No Server Connects
- Free vs Paid ProtonVPN on Windows
- Final Setup Checklist
- FAQ
- How do I install ProtonVPN on Windows 11?
- Do I need a paid account to use ProtonVPN on Windows?
- Should I turn on Kill Switch in ProtonVPN?
- Why is ProtonVPN slow on my Windows PC?
- What should I do if ProtonVPN connects but websites do not load?
To set up protonvpn on Windows, download the official Windows app, install it, sign in with your Proton account, choose a server, and turn on important safety features such as Kill Switch before browsing. The process usually takes less than ten minutes on Windows 10 or Windows 11, and once it is configured, you can connect with one click whenever you need a private, encrypted connection.
Before You Start
Proton VPN works on modern Windows PCs and is designed for both beginners and experienced VPN users. Before installing it, make sure you have a stable internet connection, administrator access on your PC, and a Proton account. If you do not have the installer yet, use the official protonvpn download page so you avoid modified or unsafe setup files.
- Supported systems: Windows 10 and Windows 11 are the most common supported versions.
- Account needed: You need a Proton account to sign in to the app.
- Free or paid plan: Both can be used, though server locations and advanced features may vary by plan.
- Permissions: Windows may ask for permission to install network drivers. This is normal for VPN software.
Step 1: Download ProtonVPN for Windows
Start by downloading the Windows installer from a trusted Proton VPN source. Avoid software download mirrors, browser pop-ups, or links from random forums. VPN software controls your network traffic, so using the official source matters.
- Open your browser on your Windows PC.
- Go to the official Proton VPN download page.
- Choose the Windows version of the app.
- Save the installer file to a folder you can find easily, such as Downloads.
If you are comparing plans first, you can also review the proton vpn free option before installing. A free plan is enough for basic privacy needs, while paid plans usually provide more locations, better speeds, and extra security features.
Step 2: Install ProtonVPN on Windows
After downloading the installer, run it like any other Windows application. The setup wizard will guide you through the process.
- Double-click the downloaded Proton VPN installer file.
- If Windows asks for permission, select Yes.
- Follow the installation prompts.
- Allow the app to install its VPN network adapter or driver if prompted.
- Click Finish when installation is complete.
During installation, Windows security prompts can look serious, but installing a VPN adapter is expected. ProtonVPN needs this component to create the encrypted tunnel between your computer and the VPN server.
Step 3: Sign In to Your Proton Account
Once the app opens, sign in with your Proton account email or username and password. If you use two-factor authentication, you will also need to enter your verification code.
If You Do Not Have an Account Yet
Create a Proton account first, then return to the Windows app and sign in. Make sure you use an email address you can access, because you may need it for password recovery or account verification.
Sign-In Tips
- Check that Caps Lock is not enabled when typing your password.
- If you use a password manager, make sure it fills the Proton account credentials, not another saved login.
- If two-factor authentication fails, check your phone time settings and try a fresh code.
- If you recently changed your password, close and reopen the app before trying again.
Step 4: Choose a VPN Server
After signing in, you can connect to a server. The easiest option is usually Quick Connect, which selects a suitable server automatically. If you need a specific country, choose it from the server list.
Which Server Should You Pick?
The best server depends on what you want to do. A nearby server is usually faster, while a server in another country may be useful when you need an IP address from that region.
| Use case | Recommended server choice | Why it helps |
|---|---|---|
| Everyday privacy | Quick Connect or a nearby server | Usually gives the best balance of speed and protection. |
| Faster browsing | Lowest-load server near your location | Less distance and lower congestion can improve performance. |
| Accessing a regional service | Server in the required country | Gives you an IP address from that country. |
| Public Wi-Fi protection | Any stable nearby VPN server | Encrypts traffic on hotel, airport, café, or campus Wi-Fi. |
Once connected, the app should show a connected status, a new VPN IP address, and the selected server location. You can also visit an IP-checking website to confirm that your visible IP address has changed.
Step 5: Enable Kill Switch
Kill Switch is one of the most important settings in a VPN setup. It helps prevent your real IP address from being exposed if the VPN connection drops unexpectedly. On Windows, you can usually find it in the Proton VPN app settings or main connection panel, depending on the app version.
- Open the Proton VPN Windows app.
- Go to Settings or the security options panel.
- Find Kill Switch.
- Turn it on.
- Reconnect to the VPN if the app asks you to do so.
Some versions may also offer a stricter permanent Kill Switch mode. Standard Kill Switch protects you when the VPN disconnects during a session. Permanent Kill Switch can block internet access unless the VPN is connected. Use the stricter option only if you are comfortable troubleshooting connectivity when the VPN is off.
Step 6: Review Other Useful Settings
You do not need to change every setting on day one, but a few options are worth reviewing after your first connection.
VPN Protocol
The VPN protocol controls how your encrypted connection is established. Many users can leave this on automatic. If your connection is unstable, switching protocols can help. WireGuard is often fast and efficient, while OpenVPN can be useful on restrictive networks.
Auto-Connect
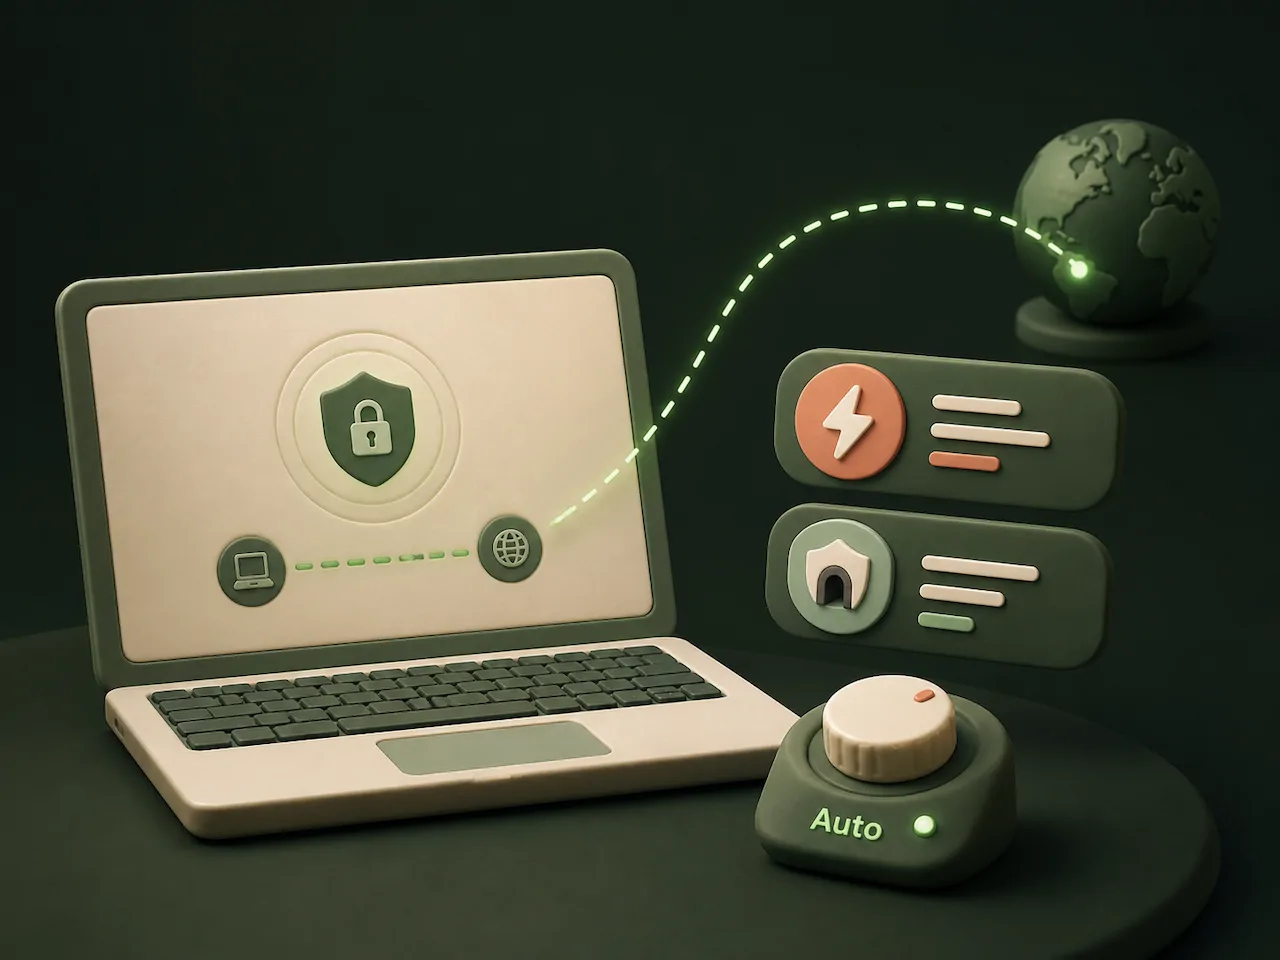
Auto-connect is useful if you often forget to turn on the VPN. You can configure ProtonVPN Windows to connect automatically when the app starts or when your PC joins an untrusted network.
NetShield or Malware Blocking
Depending on your plan and app version, Proton VPN may include NetShield, which helps block malware, trackers, and ads at the DNS level. It is not a full replacement for antivirus software, but it can reduce exposure to unwanted domains.
How to Check That ProtonVPN Is Working
After setup, do a quick check before relying on the VPN for sensitive browsing. This takes only a minute and can prevent false confidence.
- Check connection status: The Proton VPN app should show that you are connected.
- Check IP address: Your visible IP should match the VPN server location, not your home or office network.
- Check DNS leaks: Use a DNS leak test and confirm that DNS servers are associated with the VPN, not your internet provider.
- Test Kill Switch: Disconnect the VPN briefly and confirm that traffic is blocked if Kill Switch is enabled.
Practical tip: If you use VPN protection mainly on public Wi-Fi, enable auto-connect and Kill Switch together. That combination reduces the chance of accidentally browsing unprotected.
Basic Troubleshooting for ProtonVPN on Windows
If ProtonVPN does not work correctly after installation, the cause is usually a sign-in issue, a blocked network driver, conflicting security software, or a server problem. Work through the checks below before reinstalling the app.
Problem: ProtonVPN Will Not Sign In
- Confirm your username and password by signing in through Proton’s website.
- Check whether two-factor authentication is required.
- Disable any browser-based password autofill mistake if the app opens a web sign-in flow.
- Restart the app and try again.
Problem: VPN Connects but Internet Stops Working
- Disconnect and reconnect to a different server.
- Switch the VPN protocol from automatic to another option.
- Temporarily disable Kill Switch to test whether it is blocking traffic.
- Restart your router and Windows PC.
Problem: Speeds Are Slow
- Choose a server closer to your physical location.
- Pick a server with lower load if the app displays load information.
- Try WireGuard if available.
- Close bandwidth-heavy apps such as cloud backups, game launchers, or large downloads.
- Test your normal connection without the VPN to check whether the issue is your ISP or Wi-Fi.
Problem: Windows Security or Antivirus Blocks the VPN
Security tools sometimes block VPN adapters or encrypted connections. Add Proton VPN to your antivirus or firewall allowlist, then restart the app. Avoid turning off security software permanently; use a targeted exception instead.
Problem: The App Is Installed but No Server Connects
Try reinstalling the VPN network adapter by uninstalling and reinstalling the app. Before reinstalling, restart Windows once. If your network is managed by a workplace, school, hotel, or public hotspot, VPN traffic may be restricted, so switching protocols can help.
Free vs Paid ProtonVPN on Windows
The Windows setup process is similar whether you use a free or paid plan. The main differences are server choice, speed, and advanced features. If you only need basic encrypted browsing, the free plan may be enough. If you need more countries, faster connections, or streaming-friendly servers, a paid plan is usually more practical.
| Feature | Free plan | Paid plan |
|---|---|---|
| Windows app setup | Supported | Supported |
| Server locations | Limited | More countries and servers |
| Speed flexibility | Depends on available free servers | Usually better due to more server options |
| Best for | Basic privacy and occasional use | Daily use, travel, streaming, and heavier workloads |
Final Setup Checklist
Before you consider the VPN setup complete, go through this short checklist:
- Proton VPN Windows app is installed from a trusted source.
- You can sign in successfully with your Proton account.
- Quick Connect works, and you know how to choose a country manually.
- Kill Switch is enabled if you want protection against accidental exposure.
- Your IP address changes after connecting.
- You have tested a second server in case the first one is slow or blocked.
For most Windows users, that is all you need. Download the app, sign in, connect to a sensible server, and keep Kill Switch enabled when privacy matters. If something goes wrong, start with server switching, protocol changes, and firewall checks before doing a full reinstall of proton vpn.
FAQ
How do I install ProtonVPN on Windows 11?
Download the Windows installer, run it as an administrator if prompted, follow the setup wizard, then open the app and sign in with your Proton account. The steps are almost the same on Windows 10 and Windows 11.
Do I need a paid account to use ProtonVPN on Windows?
No. You can use Proton VPN on Windows with a free account, but free plans usually have fewer server locations and less flexibility than paid plans.
Should I turn on Kill Switch in ProtonVPN?
Yes, if privacy is important to you. Kill Switch helps block internet traffic if the VPN disconnects unexpectedly, reducing the risk of exposing your real IP address.
Why is ProtonVPN slow on my Windows PC?
Slow speeds are often caused by server distance, server load, Wi-Fi quality, or protocol issues. Try a nearby low-load server, switch protocols, and test your normal internet speed without the VPN.
What should I do if ProtonVPN connects but websites do not load?
Try another server, change the VPN protocol, restart the app, and temporarily check whether Kill Switch or your firewall is blocking traffic. If needed, restart Windows and reconnect.